Beef bone broth, sometimes simply called beef stock or bone stock, has been made in different forms wherever cooks have found ways to use bones, joints, connective tissue, and leftover cuts. Today, it is often associated with long-simmered homemade broth, a gelatin-rich texture, and deep savory flavor. What makes it interesting is that the finished broth can look deceptively simple, even though it depends on several small decisions.
The trouble is that a long cooking time does not automatically give you a better broth. Too much water, the wrong bones, excessive heat, or poor handling afterward can leave it weak, greasy, cloudy, or lacking the depth you expected.
The Timing Behind a Good Bone Broth
The times below are practical estimates rather than rules carved in stone. Your actual prep or cooking time can be shorter or longer depending on the amount of bones, your equipment, and how concentrated you want the broth to become.
| Stage | Approx. time |
| Preparation | 15–25 minutes |
| Roasting bones | 35–45 minutes |
| Simmering | 8–12 hours |
| Straining and cooling | 20–30 minutes |
| Total | About 9–13 hours |
A note on timing: these are only working estimates to help you plan your day. How long you actually take depends on your quantity, heat, equipment, and the result you prefer, so don’t treat the clock as a strict requirement.
What Goes Into a Deep Beef Broth
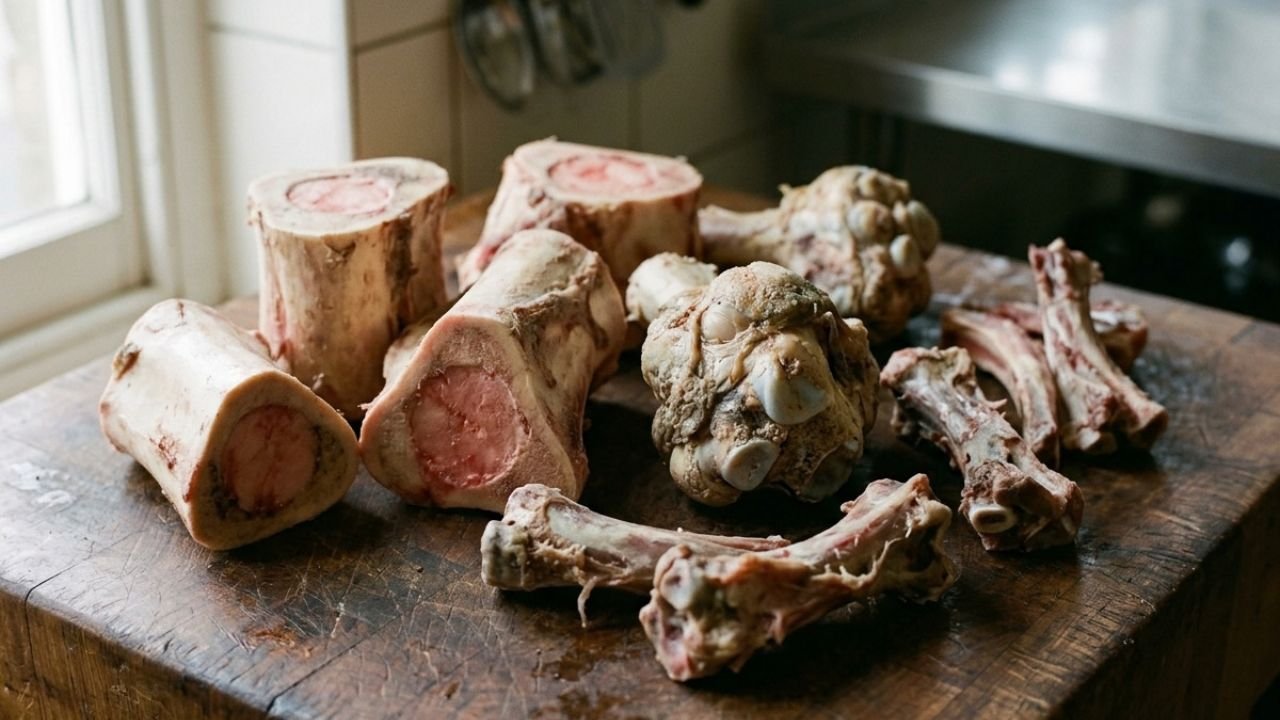
The ingredient list is deliberately straightforward. The bones do most of the work, while the vegetables and aromatics give the broth a more rounded flavor.
- 2–3 kg beef bones, preferably a mixture of marrow, knuckle, joint, or neck bones
- 2 medium onions, roughly chopped
- 2 carrots, roughly chopped
- 2 celery stalks, roughly chopped
- 3–4 garlic cloves
- 2 bay leaves
- 1 teaspoon black peppercorns
- 2–3 tablespoons apple cider vinegar or another mild vinegar, optional
- Cold water, enough to cover the bones
- Salt, preferably added toward the end according to taste
When an Ingredient Isn’t Easy to Find
You do not need to abandon the broth because one particular ingredient is missing. Some substitutions change the flavor slightly, but they can still work.
| If you don’t have | You can use | What changes |
| Knuckle bones | Beef neck bones or joints | Similar body, depending on the cut |
| Celery | A small amount of leek | Slightly sweeter, softer aroma |
| Black peppercorns | Freshly cracked black pepper | More noticeable pepper flavor |
| Bay leaves | A small amount of dried thyme | More herbal character |
| Apple cider vinegar | Mild white vinegar | Cleaner, sharper acidity |
| Fresh garlic | Garlic powder, used lightly | Less rounded garlic flavor |
Directions
The basic method is uncomplicated, but each stage affects the final broth. Keep the heat controlled, avoid filling the pot with unnecessary water, and give yourself enough time for the bones and connective tissue to release what they have to offer.
1. Roast the bones
Heat the oven to about 220°C / 425°F. Spread the beef bones across a roasting tray and roast until they are deeply browned, turning once if necessary. This usually takes around 35–45 minutes.
The goal is a rich brown surface, not burnt black edges.
2. Start the stock
Transfer the roasted bones to a large pot. Add the onions, carrots, celery, garlic, bay leaves, peppercorns, and vinegar if using.
Pour in enough cold water to cover the bones. Avoid adding far more water than necessary because you can always add a little later if the level drops too much.
3. Bring it up gently
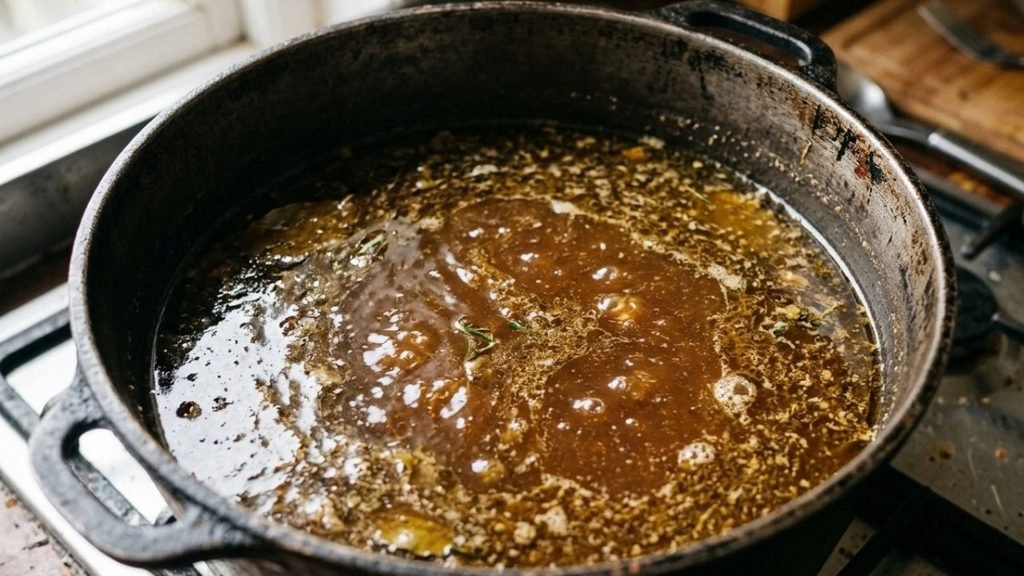
Bring the pot toward a simmer over medium heat. Once it begins simmering, lower the heat.
You want gentle movement rather than a violent boil. A calm simmer gives you more control over the finished broth and makes it easier to keep the liquid from becoming unnecessarily cloudy.
4. Let the long cooking do its work
Simmer for roughly 8–12 hours, checking occasionally.
If too much water evaporates and the bones become exposed, add enough water to keep them covered. Otherwise, leave the pot alone as much as possible.
This is where patience matters, but the exact number of hours is not sacred. Your broth may reach the texture and concentration you want earlier or later.
5. Strain and cool
Strain the finished broth through a fine sieve, removing the bones and vegetables.
Letting a large pot sit out for hours is not a good way to cool it. Divide the broth into smaller containers so it can cool more efficiently before refrigeration. For a more detailed explanation of the temperature and timing principles involved, see the FDA’s guidance on cooling cooked foods.
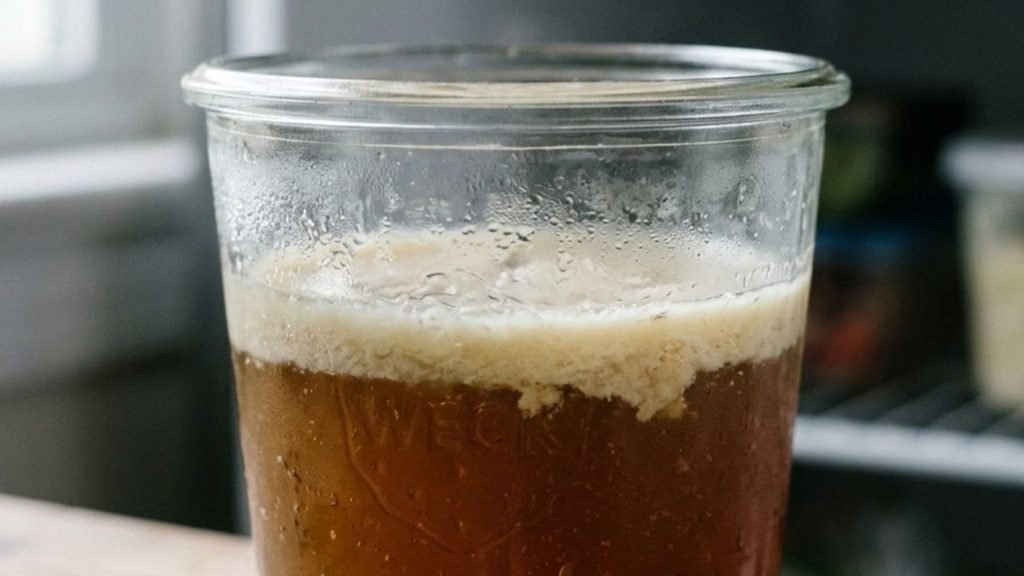
Once cold, the broth may become noticeably thicker or even wobbly if it contains plenty of gelatin. That is normal.
What to Serve It With When You Don’t Want Another Soup
Beef bone broth does not have to arrive at the table in a bowl by itself.
Use it as a warm savory drink, or serve it alongside simple meals where its concentrated flavor has somewhere to go. It can also become the liquid foundation for rice, grains, sauces, stews, noodles, or other dishes that benefit from a deeper beef flavor.
The important distinction is that bone broth is often more useful as a building block than as the entire dish.
If You Have More Than You Can Use
Homemade beef bone broth can be refrigerated or frozen.
For refrigerated storage, use clean, covered containers and chill the broth promptly. A practical window is around 3–4 days, although how long yours remains suitable depends on how it was handled, cooled, stored, and the temperature of your refrigerator.
For longer storage, freezing is the more practical option. Leave enough room in the container for expansion, particularly if using glass.
For reheating, warm only the amount you intend to use rather than repeatedly heating and cooling the entire batch. Your actual storage and reheating time will depend on your handling and equipment, so these time ranges should be treated as guidance rather than a promise.
Seven Small Mistakes With Surprisingly Big Consequences
1. Buying only marrow bones
Marrow adds richness, but it is not the only thing you want. Knuckles, joints, and other connective-tissue-rich bones contribute gelatin and body.
2. Taking the roast too far
Brown is useful. Burnt is not. Once the bones become heavily charred, bitterness can become part of the broth.
3. Drowning the bones
More water does not mean more broth quality. Excess water can leave you with a diluted result that needs considerable reduction afterward.
4. Keeping the pot at a hard boil
A rolling boil can push fat and proteins into the liquid and produce a cloudier broth. If clarity matters to you, gentler heat gives you more control.
5. Treating vinegar as essential
A little acidity can be useful, but vinegar cannot rescue poor-quality bones, excessive water, or weak flavor. It is an optional part of the process rather than the defining ingredient.
6. Throwing every vegetable scrap into the pot
Not every scrap improves stock. Strong, bitter, or old vegetable pieces can introduce flavors you did not intend.
7. Forgetting that the broth is perishable
Long cooking does not make finished broth immune to food-safety concerns. Once it is strained, cooling and storing it properly become part of the job.
FAQ’s
1. Does beef bone broth have to cook for 24 hours?
No. Longer is not automatically better. The useful cooking time depends on the bones, water level, heat, and the concentration and texture you want.
2. Why did my bone broth not turn gelatinous?
It can happen for several reasons. You may have used bones with relatively little connective tissue, added too much water, or simply produced a broth that is less concentrated. A liquid broth is not necessarily a failed broth.
3. Should beef bone broth always be clear?
No. Clarity depends partly on how it is cooked. Gentle simmering generally gives you more control if you want a clear broth, while vigorous boiling can create a more opaque, emulsified result.
4. Should I add salt at the beginning?
It is usually easier to control seasoning toward the end, particularly if you expect the broth to reduce. Starting with less salt also gives you more flexibility if the broth will later be used in another dish.
5. Why does my refrigerated broth look like jelly?
That can be a good sign of gelatin. Collagen from connective tissue breaks down during cooking and can cause the broth to firm up when chilled. It will become liquid again when warmed.
The Better Way to Think About Bone Broth
The appeal of beef bone broth is partly its simplicity: bones, water, time, and a pot can produce something remarkably useful.
But the simplicity can also be misleading. The result depends on choices that are easy to overlook — the balance of marrow and connective tissue, how deeply the bones are browned, how much water surrounds them, how aggressively the liquid cooks, and what happens once the broth leaves the stove.
So if your last batch was thin, greasy, cloudy, or simply less flavorful than expected, the answer may not be another six hours of cooking.