Turkey brine, often simply called brined turkey, has long been used to keep holiday birds moist and well-seasoned, the idea is simple. Soak the turkey in salted water before roasting. Modern versions often include herbs, citrus, sugar, and spices. These additions bring more flavour to this old preparation without changing its basic purpose.
The problem is that many turkey brines promise juicy, well-seasoned meat but can leave the bird too salty or barely changed at all. This guide shows how to get the difference you actually want.
Timing at a glance
| Prep time | Bringing time | Drying time | Cook time |
| 15–20 minutes | 8–12 hours | 1–2 hours | Depends on turkey size |
These are useful working times rather than promises carved in stone. Your turkey may take more or less time depending on its size, refrigerator temperature, and cooking setup, so treat the timings as a guide and adjust them to your own bird.
What goes into a brine that actually works
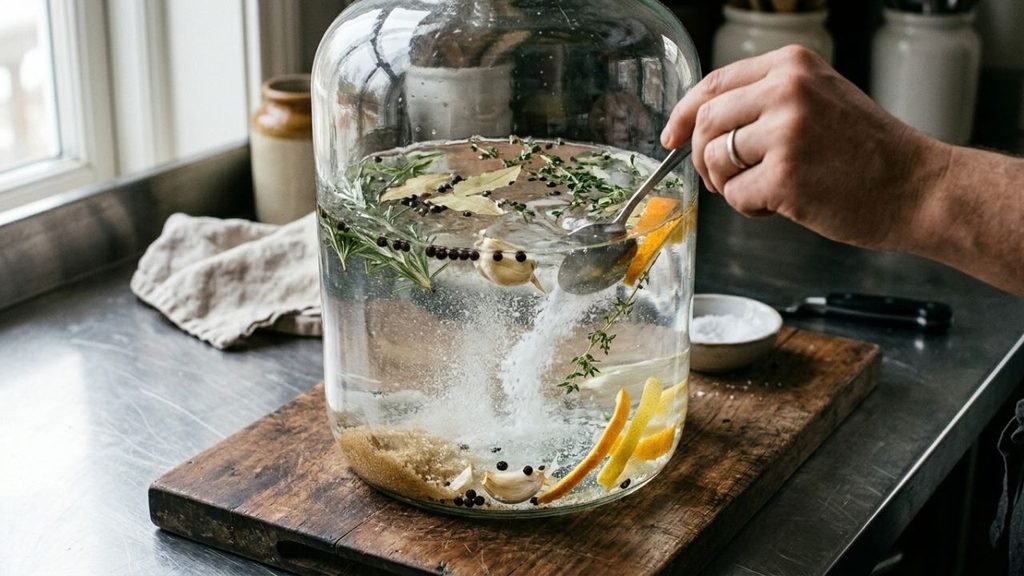
- 4 litres cold water
- 200 g kosher salt
- 100 g brown sugar
- 2 bay leaves
- 1 tablespoon black peppercorns
- 4 garlic cloves, lightly crushed
- 4–5 sprigs fresh thyme
- 3–4 sprigs fresh rosemary
- Peel of 1 orange
- Peel of 1 lemon
- 1 whole turkey, fully thawed and preferably untreated
The salt is the important part here. The sugar, herbs, citrus and aromatics give the brine its character, but they should not turn it into a crowded pot of competing flavours.
If you don’t have everything
| Ingredient | Good replacement | What changes |
| Kosher salt | Coarse sea salt | Measure by weight if possible |
| Brown sugar | White sugar | Slightly less caramel-like flavour |
| Fresh thyme | 1 teaspoon dried thyme | More concentrated herbal flavour |
| Fresh rosemary | 1 teaspoon dried rosemary | Stronger, sharper rosemary note |
| Orange peel | Lemon peel | Brighter, more acidic citrus character |
| Lemon peel | Orange peel | Sweeter citrus character |
| Black peppercorns | 1 teaspoon coarse black pepper | More noticeable pepper flavour |
The part that makes the difference
1. Check the turkey before anything else
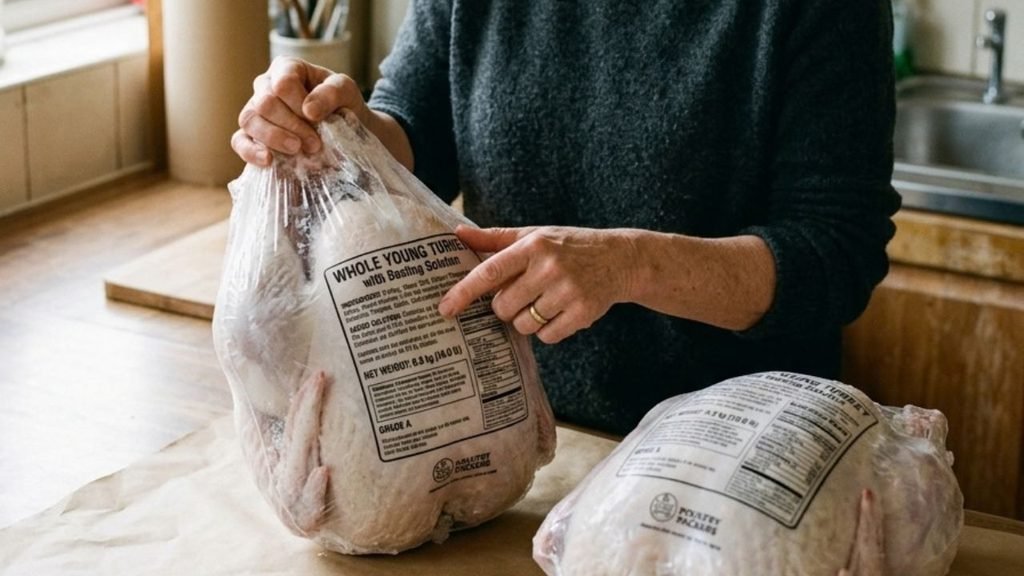
Look at the packaging before preparing the brine.
If the turkey has already been injected, seasoned, basted or sold with an added solution, it may already contain salt. Adding a full brine on top of that can leave the finished meat much saltier than intended.
A plain, untreated turkey gives you much more control.
2. Make the brine
Place the water, salt and sugar in a large container and stir until the salt and sugar are completely dissolved.
Add the bay leaves, peppercorns, garlic, thyme, rosemary and citrus peel.
If you warm some of the water to dissolve the salt more quickly, let the brine cool completely before the turkey goes anywhere near it. The bird should only meet cold brine.
3. Give the turkey its time
Place the thawed turkey into the cooled brine and make sure the liquid reaches as much of the bird as possible.
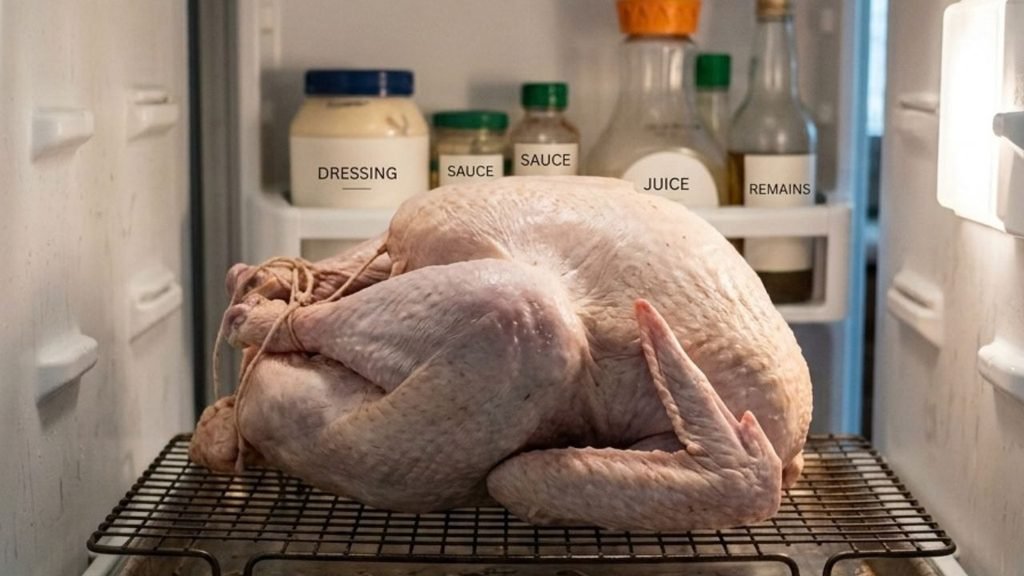
Cover it and keep it refrigerated for around 8–12 hours.
Longer is not automatically better. A turkey left in a strong brine for too long can become noticeably salty, and the texture can suffer.
4. Dry it before roasting
Remove the turkey from the brine and discard the liquid.
Pat the entire bird very thoroughly with paper towels. The skin should feel dry rather than slick.
If you have refrigerator space, leave the turkey uncovered on a rack for another hour or two before roasting. This extra drying period is particularly useful if crisp, browned skin matters to you.
5. Roast according to your turkey
Once the bird is dry, continue with your preferred roasting method.
Once the bird is dry, continue with your preferred roasting method. The brine is not a substitute for checking doneness. Turkey size, oven temperature and the way the bird is prepared all affect cooking time, so use the cooking temperature and doneness test appropriate for your particular turkey rather than relying on a single clock time. For detailed guidance on safe turkey temperatures and roasting, see the USDA’s turkey roasting and temperature guidance.
What to put beside a brined turkey
A well-brined turkey already has seasoning running through the meat, so the sides do not need to compete with it.
Classic roasted potatoes, stuffing, gravy, green beans and roasted carrots work naturally. Something acidic can also be useful: cranberry sauce, pickled vegetables or a sharp salad can cut through the richness of the turkey and gravy.
If you are making gravy from the roasting pan, taste it before adding salt. The turkey has already brought seasoning into the drippings.
Can you store and reheat it?
Cooked turkey can be refrigerated after the meal and reheated later, but how long you keep it is ultimately your decision based on your storage conditions and how comfortable you are with its freshness.
For the best texture, store the meat in a covered container and reheat only the amount you plan to eat. Adding a little gravy or stock while reheating can help prevent the meat from drying out.
The mistakes that quietly ruin a good brine
Brining an already-seasoned turkey
This is probably the easiest mistake to make. Always check the label first.
Measuring salt only by cups
Different salts occupy different amounts of space. A cup of one kosher salt can contain considerably more or less salt than a cup of another. Weight is more reliable.
Using warm brine
Warm liquid and raw poultry are a bad combination. Cool the brine completely before adding the turkey.
Leaving the turkey uncovered and wet
Moisture on the surface works against the crisp skin most people want. Dry the bird properly before roasting.
Thinking more brine means more flavour
A stronger or longer brine is not necessarily an improvement. Salt is doing the heavy lifting, so restraint matters.
Forgetting the gravy
The drippings can already be quite salty. Season the gravy gradually rather than automatically adding the usual amount of salt.
FAQ’s
1. Can I brine a frozen turkey?
The turkey needs to be fully thawed before brining. A frozen centre prevents the brine from working evenly and makes the timing difficult to control.
2. How long should a turkey stay in brine?
Around 8–12 hours is a practical range for this recipe. The exact time depends on the size of the turkey and the strength of the brine, so don’t assume that leaving it substantially longer will produce a better result.
3. Can I skip the sugar?
Yes. Sugar adds sweetness and contributes to browning, but salt is the ingredient doing the essential brining work.
4. Do herbs actually penetrate the turkey?
Not to the same extent as salt. Herbs and citrus mainly contribute flavour around the surface and to the overall character of the brine. They are useful, but they are not the reason the brining process works.
5. Is wet brining better than dry brining?
They solve slightly different problems. Wet brining surrounds the turkey with seasoned water and is useful when moisture retention is the priority. Dry brining takes up less space and makes it easier to dry the skin. Neither approach needs to be complicated.
6. Should I rinse the turkey after brining?
You don’t need to rinse it. Removing the turkey from the brine and drying it thoroughly is enough. Rinsing raw poultry can also spread contaminated droplets around the kitchen.
The quiet trick behind a better turkey
A good turkey brine is not really about making the most elaborate liquid you can fit into a container. It is about controlling one important thing: how the bird is seasoned before it meets the heat.
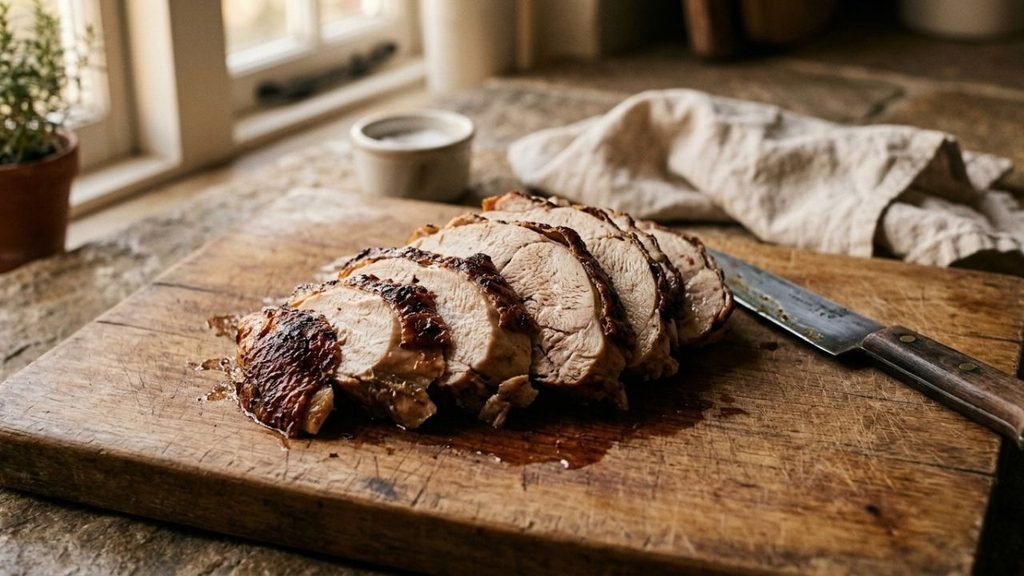
Salt does most of the serious work. The herbs and citrus give it personality. Drying the skin afterwards gives you a better chance of getting the contrast people actually want from a roast turkey: moist meat underneath, properly browned skin on top.
That is why a simpler brine can often be more useful than a complicated one. You can see what each part is doing, adjust it to your turkey, and avoid turning a straightforward preparation into another source of uncertainty.