Butter mints are small pastel candies often served at weddings, showers, holidays, and family gatherings. Also known as dinner mints or wedding mints, they are known for their buttery sweetness and cool peppermint finish. Their simple appearance makes them familiar, but their delicate texture is what truly sets them apart.
Getting butter mints to hold their shape without turning hard or sticky can be tricky. This guide shows you how to get that soft, delicate texture right at home.
Get the Timing Right Before You Begin
| Timing | Approximate time |
| Preparation | 20 minutes |
| Shaping | 10–15 minutes |
| Drying | 4–12 hours |
| Total | About 4½–12½ hours |
These times are a guide, not a rule. Your prep may take less or more time, while drying depends on humidity, temperature, and mint size. Let the texture decide.
What Goes Into the Bowl
- ½ cup unsalted butter, softened
- 4 cups confectioners’ sugar
- 1 tablespoon whole milk or heavy cream
- ¼ teaspoon salt
- ¼–½ teaspoon peppermint extract
- Gel food coloring, optional
The butter should be soft enough to mix easily but not melted. That distinction is more important than it sounds. Melted butter changes the consistency of the mixture and can leave you chasing the right texture with extra sugar.
Peppermint extract is another ingredient worth treating carefully. Different brands can vary in strength, so the amount is best understood as a range rather than an absolute rule. If you prefer a gentler mint flavor, begin with less and adjust gradually.
Gel coloring is optional. If you want the traditional pastel appearance, a tiny amount is enough. There is no need to make the colors intense. If you’re curious about what goes into food coloring and how permitted color additives are evaluated, the FDA explains how food color additives are regulated.
Easy Swaps When the Pantry Is Missing Something
| Ingredient | Possible replacement | What changes |
| Unsalted butter | Salted butter | Reduce or skip the added salt |
| Whole milk | Heavy cream | Produces a slightly richer mixture |
| Whole milk | Half-and-half | Gives a middle ground between milk and cream |
| Peppermint extract | Peppermint flavoring | Strength varies, so add cautiously |
| Gel food coloring | Liquid food coloring | Use sparingly because it adds more moisture |
The important thing with substitutions is not to treat every replacement as identical. Milk, cream, and half-and-half can all provide the moisture needed to bring the dough together, but they do not behave exactly the same way. Likewise, peppermint flavoring can be stronger or weaker than extract.
The Dough Should Feel More Like Candy Than Frosting
Start by beating the softened butter until smooth. Gradually add the confectioners’ sugar, allowing each addition to blend before adding more. Add the milk or cream, salt, and peppermint extract, then continue mixing until the ingredients form a workable dough.
This is the stage where your hands and eyes become more useful than the measuring spoon.
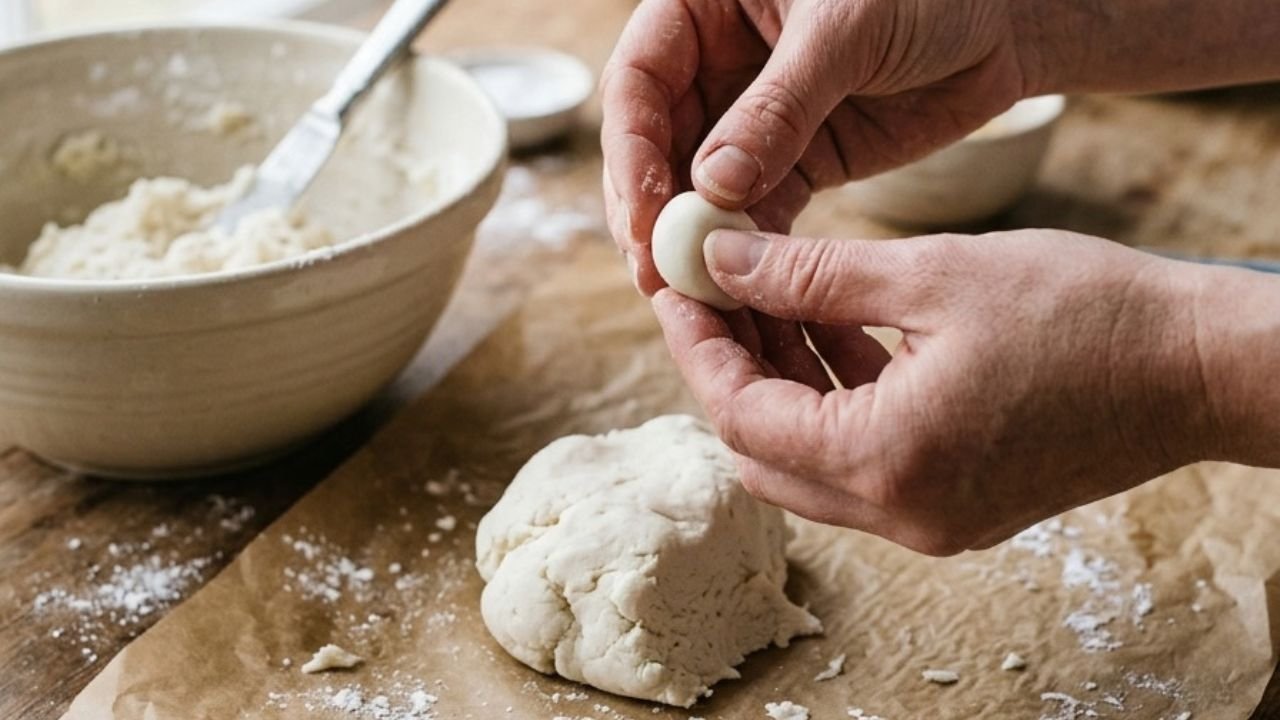
The dough should be soft enough to shape but firm enough that it does not cling heavily to your fingers. Think of a pliable modeling dough rather than buttercream frosting.
If the mixture is crumbly, add a few drops of milk or cream. Do not pour in a large amount at once. A small quantity of liquid can change the consistency quickly.
If it becomes sticky, add confectioners’ sugar a little at a time until it firms up.
For colored mints, divide the dough into portions before adding color. Knead a small amount of gel coloring into each portion until evenly distributed. Pale shades usually give the most familiar appearance and keep the candy looking understated.
Shape Them Small, Then Let Them Rest
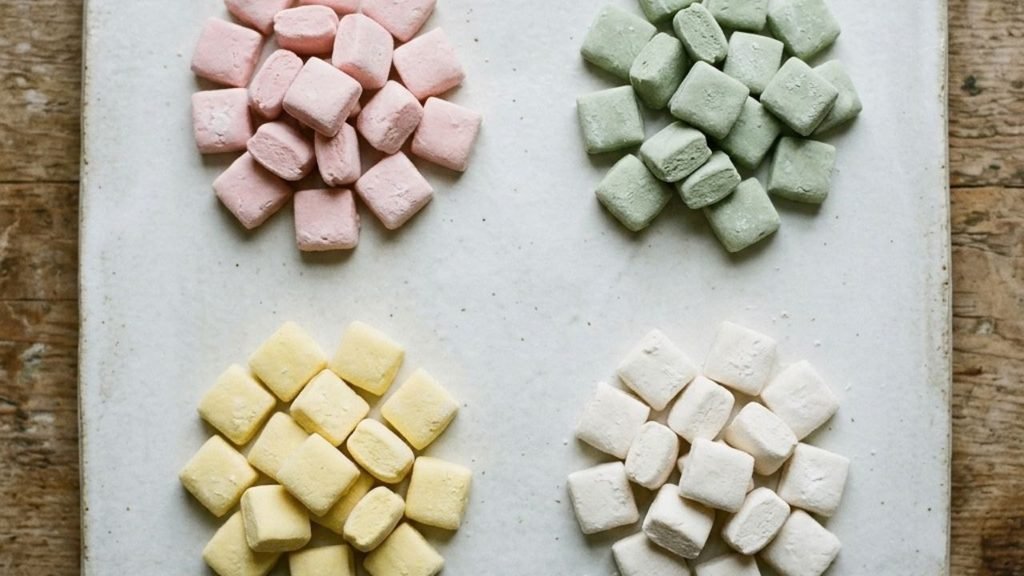
Roll each portion into a narrow rope, then cut it into small, similar-sized pieces. Shape them as simple squares or use a small mold for a decorative finish. Place the mints on parchment with some space between them. Leave them uncovered until firm, which may take several hours or overnight. Let them dry fully before judging the final texture.
Humidity Has More Say Than You Might Expect
Butter mints are particularly sensitive to moisture because confectioners’ sugar makes up such a large part of the mixture.
In a dry room, the surface can firm relatively quickly. In humid weather, the same batch may remain slightly tacky for much longer. This is one reason two people can follow the same recipe and get noticeably different results.
If your mints feel sticky after the first few hours, give them more time before making changes.
they are greasy, the butter may have been too warm or the mixture may need more confectioners’ sugar.
If they crumble apart when you try to shape them, they may need a tiny amount of additional moisture.
The useful question is not simply, “Did I follow the measurement?” It is, “What is the mixture doing right now?”
That small shift in thinking makes homemade candy much easier to understand.
The Classic Pastel Look Is Part of Their Character
There is something very specific about the familiar colors of butter mints. Pale pink, soft green, light yellow, and white immediately suggest weddings, baby showers, family gatherings, restaurant tables, and candy dishes from another era.
The colors are not essential to the candy, but they contribute to its identity.
If you are making several colors, resist the temptation to make them extremely bright. A small amount of color produces a softer, slightly faded appearance that feels much closer to the traditional style.
White mints can be especially effective on their own. Against a dark serving dish or natural linen, they become less decorative and more quietly old-fashioned.
Serving Them Without Making Them Feel Overdone
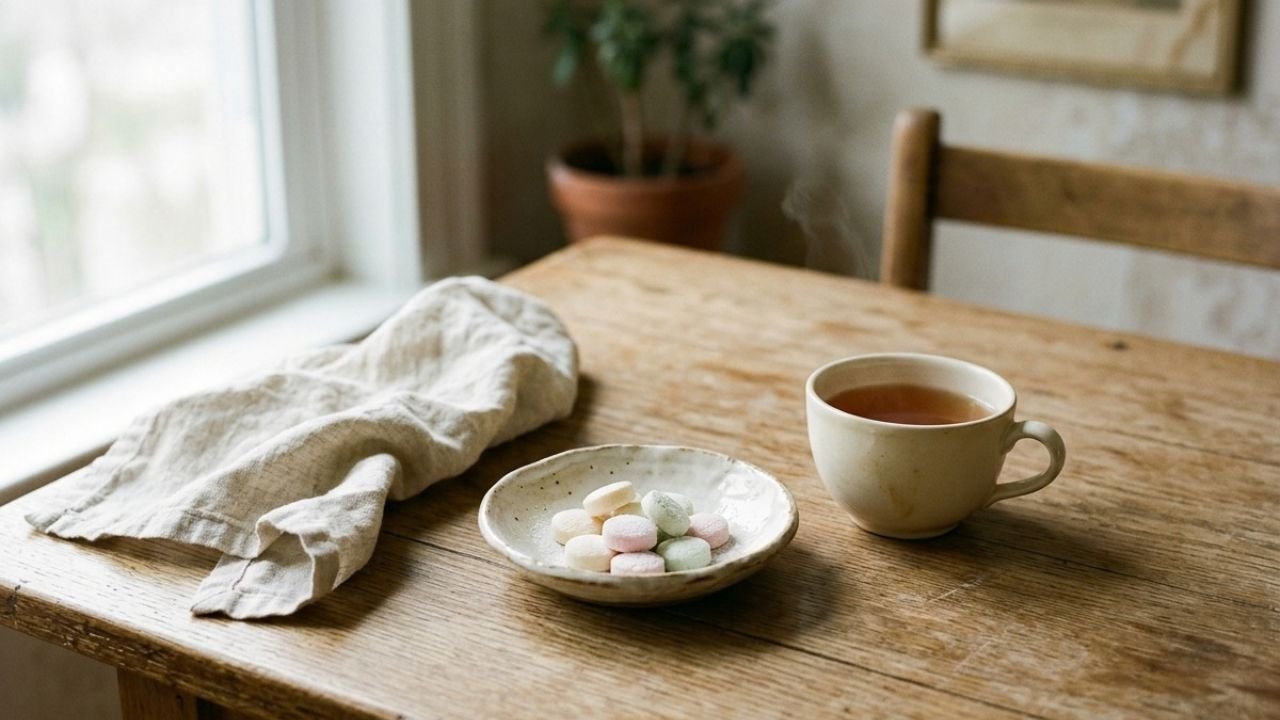
Butter mints are best served in small quantities. A shallow ceramic bowl, glass candy dish, or vintage container works well for coffee, tea, weddings, showers, and dessert tables.
For a simple look, mix different pastel colors together. Keeping each color in its own dish creates a cleaner presentation. There is no need for elaborate decoration. Their simple, familiar appearance is part of the charm.
How to Keep Them Once They Are Made
Once the mints have dried properly, store them in an airtight container away from heat and humidity.
They can usually keep for several days, but the exact time depends on moisture, room conditions, and storage. Check them before serving. If they become sticky, smell unusual, or show signs of spoilage, discard them. You can also freeze them if protected well from moisture.
The Small Mistakes That Change the Texture
Starting with melted butter
Soft butter gives you control. Melted butter can make the mixture greasy and loose, forcing you to add more sugar to compensate.
Treating the liquid measurement as fixed
The stated amount of milk or cream is a starting point. Butter, sugar, humidity, and even how tightly the sugar was measured can change the consistency. Add liquid gradually instead of assuming the entire amount must go in.
Adding too much peppermint
Peppermint extract is concentrated. More does not necessarily mean better. Too much can cover the buttery sweetness and leave the candy with an almost medicinal sharpness.
Drying them in a humid spot
A damp kitchen can significantly slow the process. If the mints remain tacky, give them more time rather than immediately rebuilding the mixture.
Making the pieces too large
Large pieces take longer to dry and can have a different center-to-surface texture. Small pieces are easier to handle and closer to the traditional style.
FAQ’s
1. Are butter mints and cream cheese mints the same?
No. They can look similar, particularly when both are made in pastel colors, but cream cheese mints use a different base and have their own characteristic texture.
2. Do butter mints have to be pastel?
Not at all. The pastel colors are traditional rather than essential. White butter mints are perfectly suitable and have a particularly simple appearance.
3. Can the peppermint flavor be made milder?
Yes. Start with the lower end of the suggested amount and taste the mixture before adding more. The strength of peppermint flavoring varies between products.
4. Why are my mints still sticky?
Humidity, excess moisture, or insufficient drying are common reasons. Allow them more time uncovered before deciding that the mixture needs to be changed.
5. Why did they become hard?
They may have dried too long, started with too little moisture, or been exposed to very dry conditions. Butter mints should be firm enough to handle without becoming hard like traditional peppermint candy.
A Simple Candy That Depends on Small Decisions
Butter mints are easy to underestimate. The ingredients are ordinary, the pieces are small, and their familiar pastel appearance has barely changed. Yet that simplicity is exactly what makes the details matter.
A good batch comes down to a few small choices, like using softened butter, adding the liquid slowly, and keeping the peppermint balanced. Let the mints dry properly, and they should turn out buttery, cool, lightly sweet, and delicate enough to melt in your mouth.